Quick UI Android tests: Espresso Test Recorder + common modifications
Testing is super important for providing software that is reliable and this is widely accepted. Unfortunately, testing is hard. It requires proper architecture, as well as significant time to write the tests (quite often it takes more time than the actual code).
Espresso tests are the UI integration tests for Android apps. They run on a device or emulator. Normally, you need to write these tests by hand, just like you would with a regular unit test. Android Studio's Espresso Test Recorder is a valuable tool to cut down the time required to write such a test. It's completely visual and provides a great starting point!
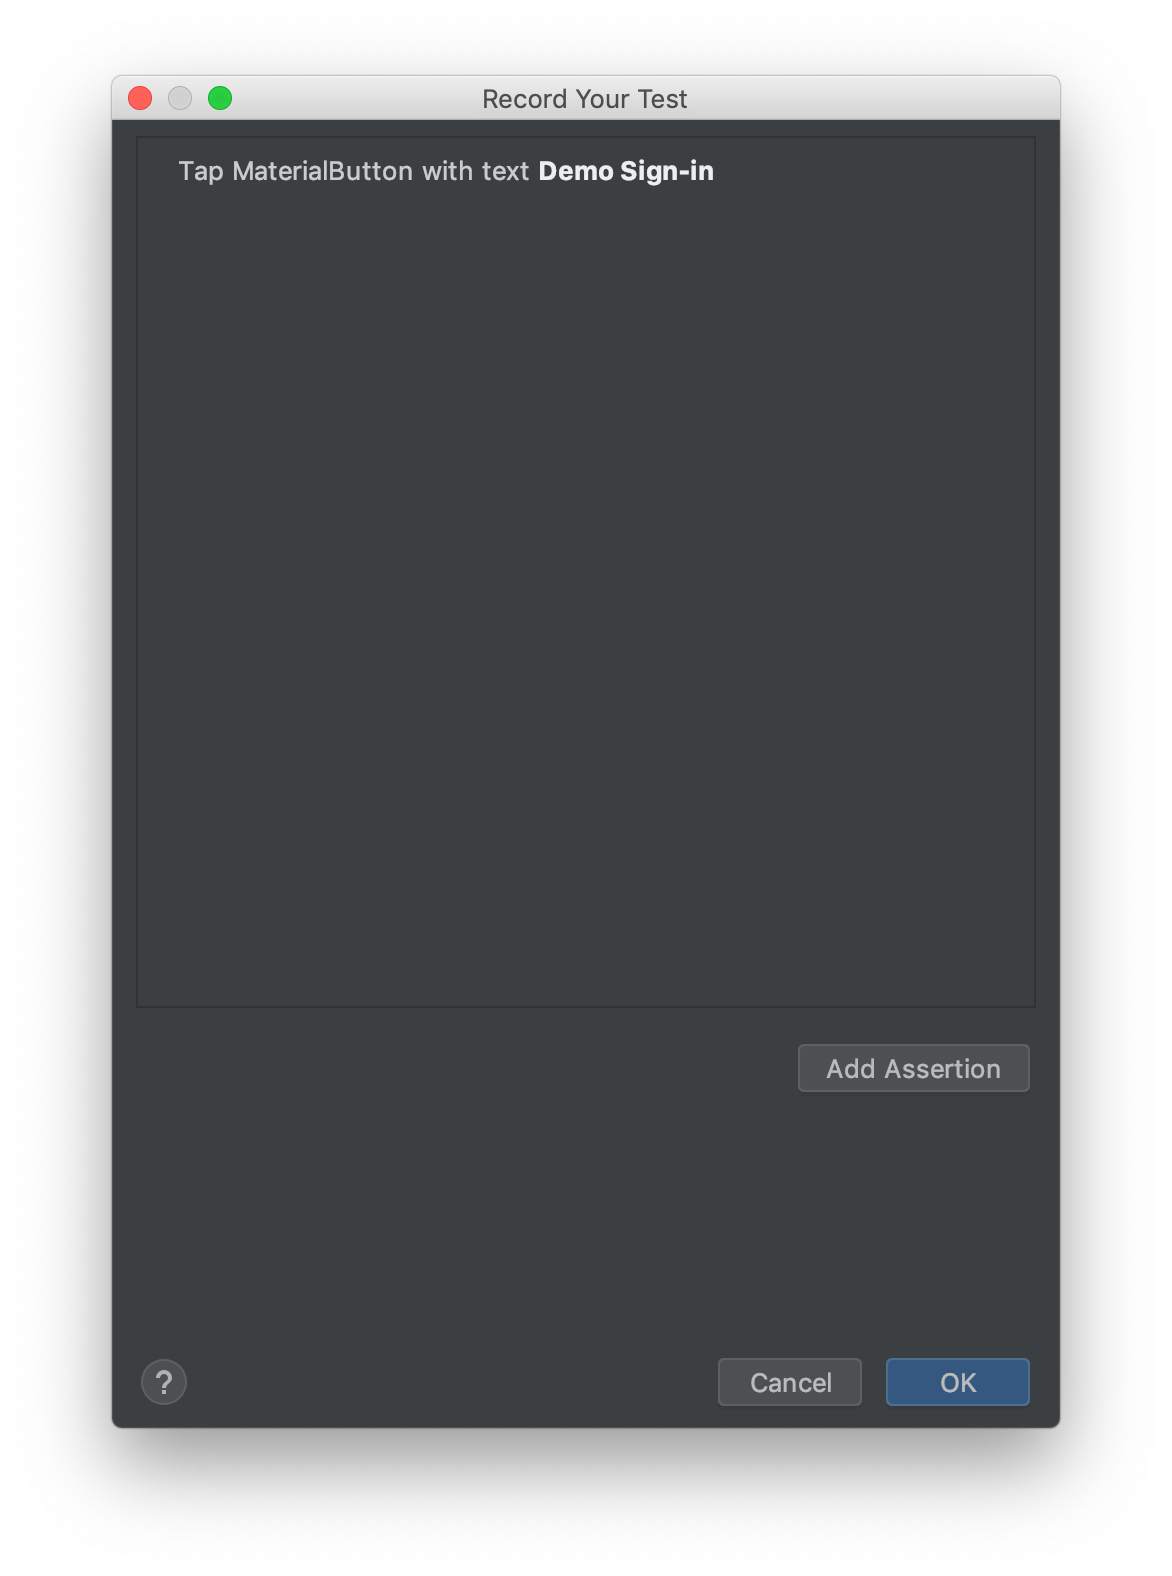
To record a test, connect a device or launch an emulator instance, and select Run -> Record Espresso Test in Android Studio. Your app will launch and whatever clicks you make on the emulator/device, they will be recorded.

When you want to verify that something you expect is indeed on the screen, click the Add Assertion button. What is currently on the device screen, will appear in that window. You can click on an element, and assert what you expect.
When you are done, click OK and a Kotlin/Java integration test will appear!
Common modifications needed
Although this looks like magic, it's not. This tool is complementary to writing UI tests. It will output a complete test, but most probably you would need to modify it to make sure it's not flaky and works all the time.
- Use fakes/mocks
By default the test recorder will use the real implementation of your classes. This means that you will connect to your production instance and make changes to your production data. This is not ideal, to say the least, and would lead to flaky tests (i.e. sometimes the test might pass, sometimes not).
To make your tests hermetic (i.e. self-sufficient tests that produce reproducible results) you would need to replace some parts of your stack with fake implementations that always return the same results (to have reproducible tests). Services that connect to a remote server and return results are the most obvious ones.
An excellent guide for deep diving and a practical example here.
If you don't have a proper architecture for faking out real implementations for fakes, you can use an Espresso test to automate things that you would be testing manually, until you properly refactor your architecture. - Idle resources
Another big issue with UI tests and the recorder is that it does not figure out when it should wait before taking a UI action (e.g. clicking a button). While recording the test, the waiting time before clicking on a button is not recorded (e.g. waiting for that spinner to disappear before proceeding is not recorded).
The proper solution is to "teach" Espresso when a resource is ready and action can be taken (more details in the official doc).
An ugly (but working) hack I found some time ago, is to use a custom action and wait for the desired view to appear before proceeding.
class WaitViewAction private constructor(private val viewId: Int, private val millis: Long): ViewAction {

    companion object {
        fun waitId(viewId: Int, millis: Long = 5000) {
            onView(isRoot()).perform(WaitViewAction(viewId, millis))
        }
    }

    override fun getConstraints(): Matcher<View> {
        return isRoot()
    }

    override fun getDescription(): String {
        return "Waiting for $viewId"
    }

    override fun perform(uiController: UiController, view: View?) {
        uiController.loopMainThreadUntilIdle()
        val startTime = System.currentTimeMillis()
        val endTime = startTime + millis
        val viewMatcher = withId(viewId)
        do {
            for (child in TreeIterables.breadthFirstViewTraversal(view)) {
                if (viewMatcher.matches(child)) {
                    return
                }
            }
            uiController.loopMainThreadForAtLeast(50)
        } while (System.currentTimeMillis() < endTime)
        throw IllegalStateException("View waiting timed out")
    }
}
Then use like this: WaitViewAction.waitId(R.id.myButtonView)
- Matchers
Noticed that the recorder quite often is adding more matching conditions than necessary. Therefore, if you just recorded a test then run it and fails, you might need to manually inspect the code that tries to find and click on elements.
Hopefully, this was a super quick introduction to the Espresso Test Recorder and the common things that you might need to change after you record a test. Happy testing!


